
Facebow

Facebow Details
Facebow has integrated bubble levels for anterior/posterior and sagittal position for adjusted natural head posture mounting.
Orbital pointer provided for third reference point for mounting on axis orbital plane.
Facebow Accessories


FAQ
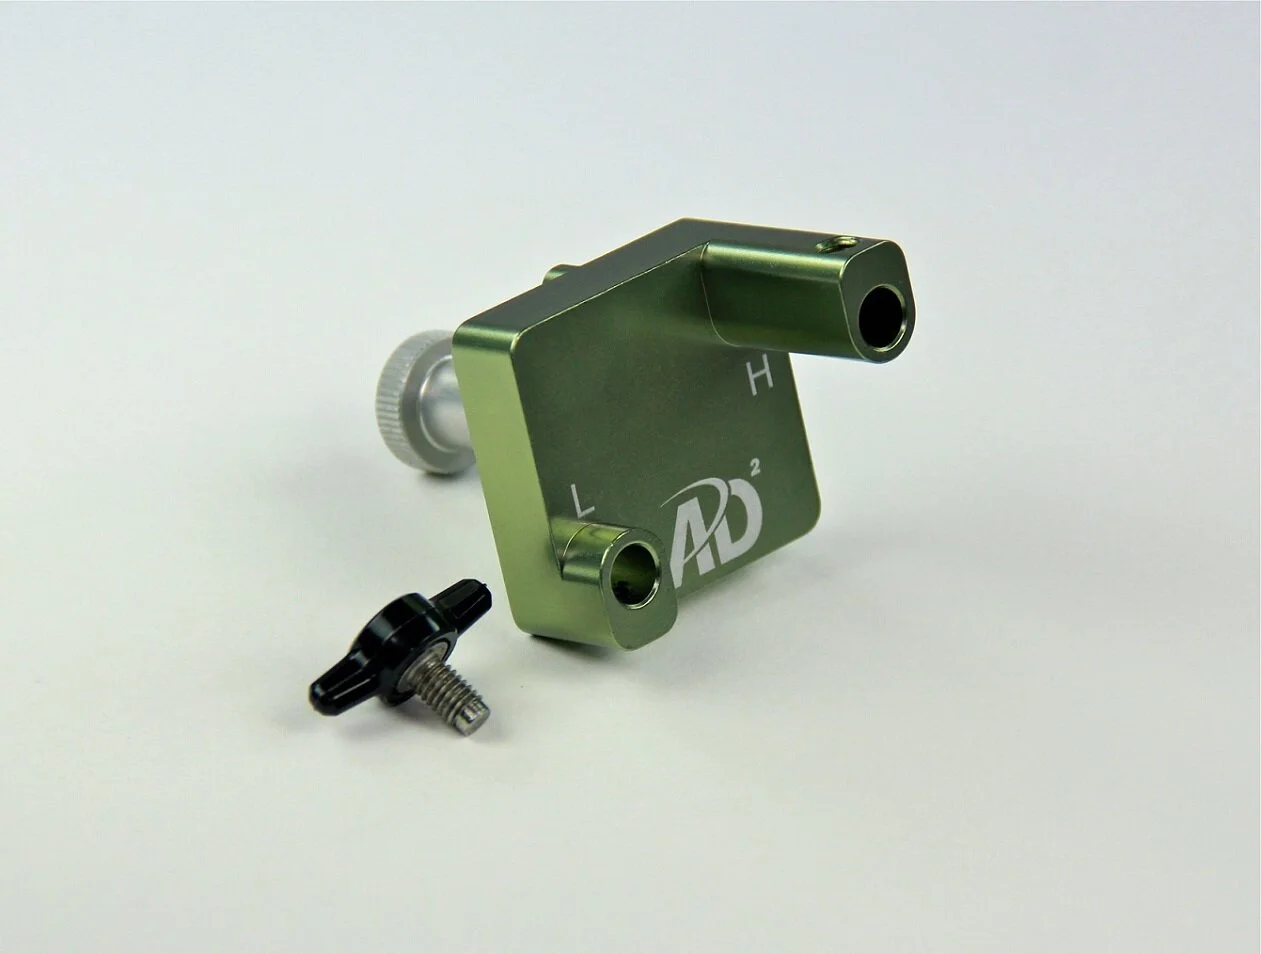
The mounting table that comes with the facebow has an “H” and “L” setting on it (for High and Low). Which one am I supposed to put the bite fork stem into when transferring the facebow?
The AD2 facebow comes with bite fork stems that are designed to fit in the “L” setting on the mounting table. Our products are designed to be compatible with Panadent products so you can use an AD2 facebow and mount the case on a Panadent articulator (you would also use the “L” mounting position when mounting on a Panadent articulator). However, if you are using a Panadent Panamout facebow, the bite fork stems Panadent makes are slightly shorter than the AD2 stems. When mounting a case from a Panadent facebow, you would use the “H” (High”) setting on the mounting table instead. The taller mounting position of the H setting compensates for the slightly shorter Panadent bite fork stem.
How do I position the bite fork stem in the facebow and when transferring it to the articulator via the mounting table?
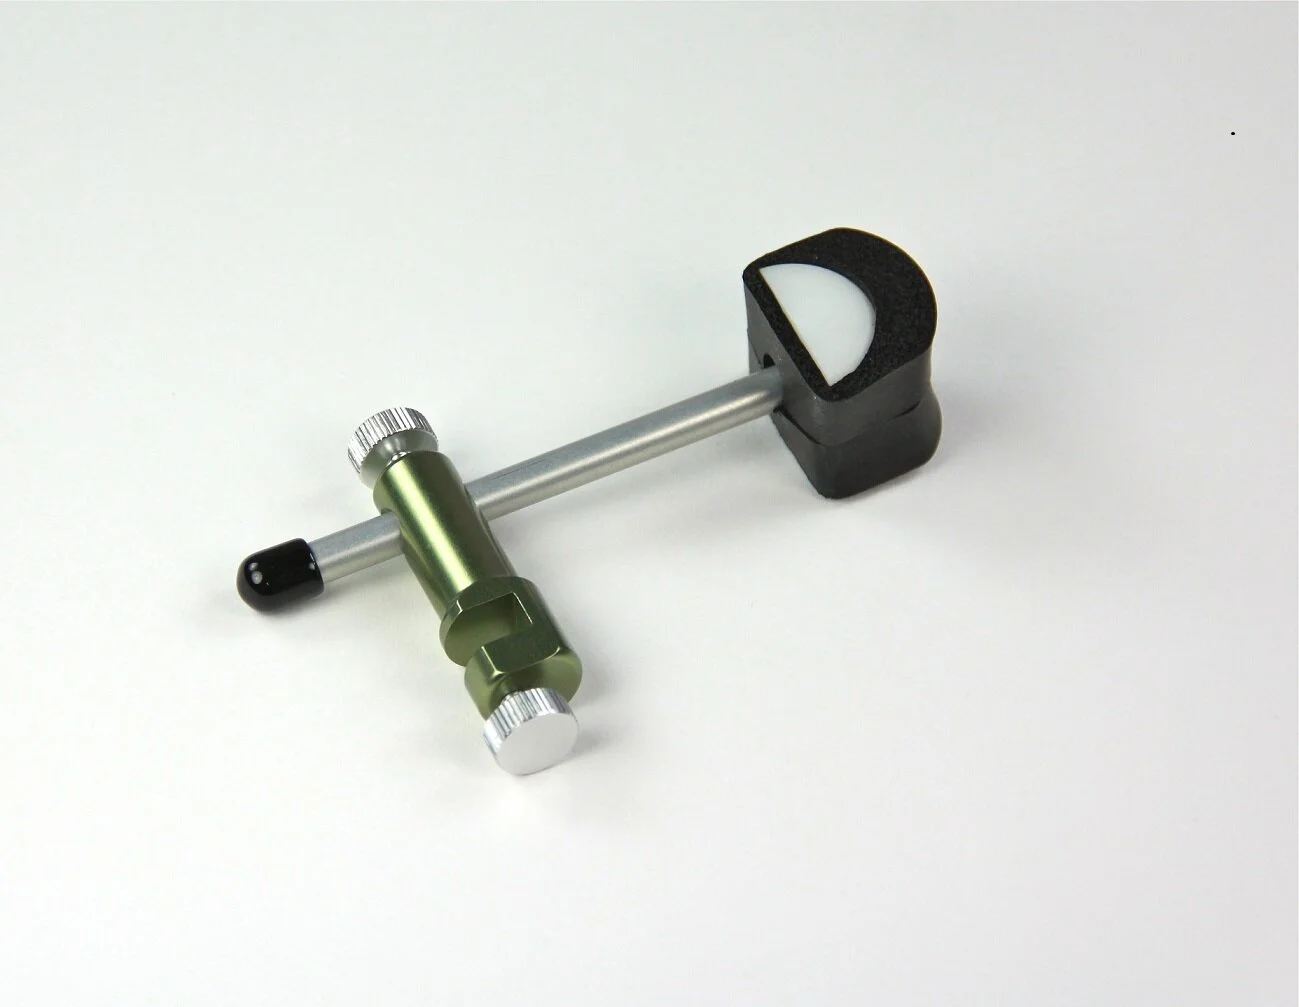
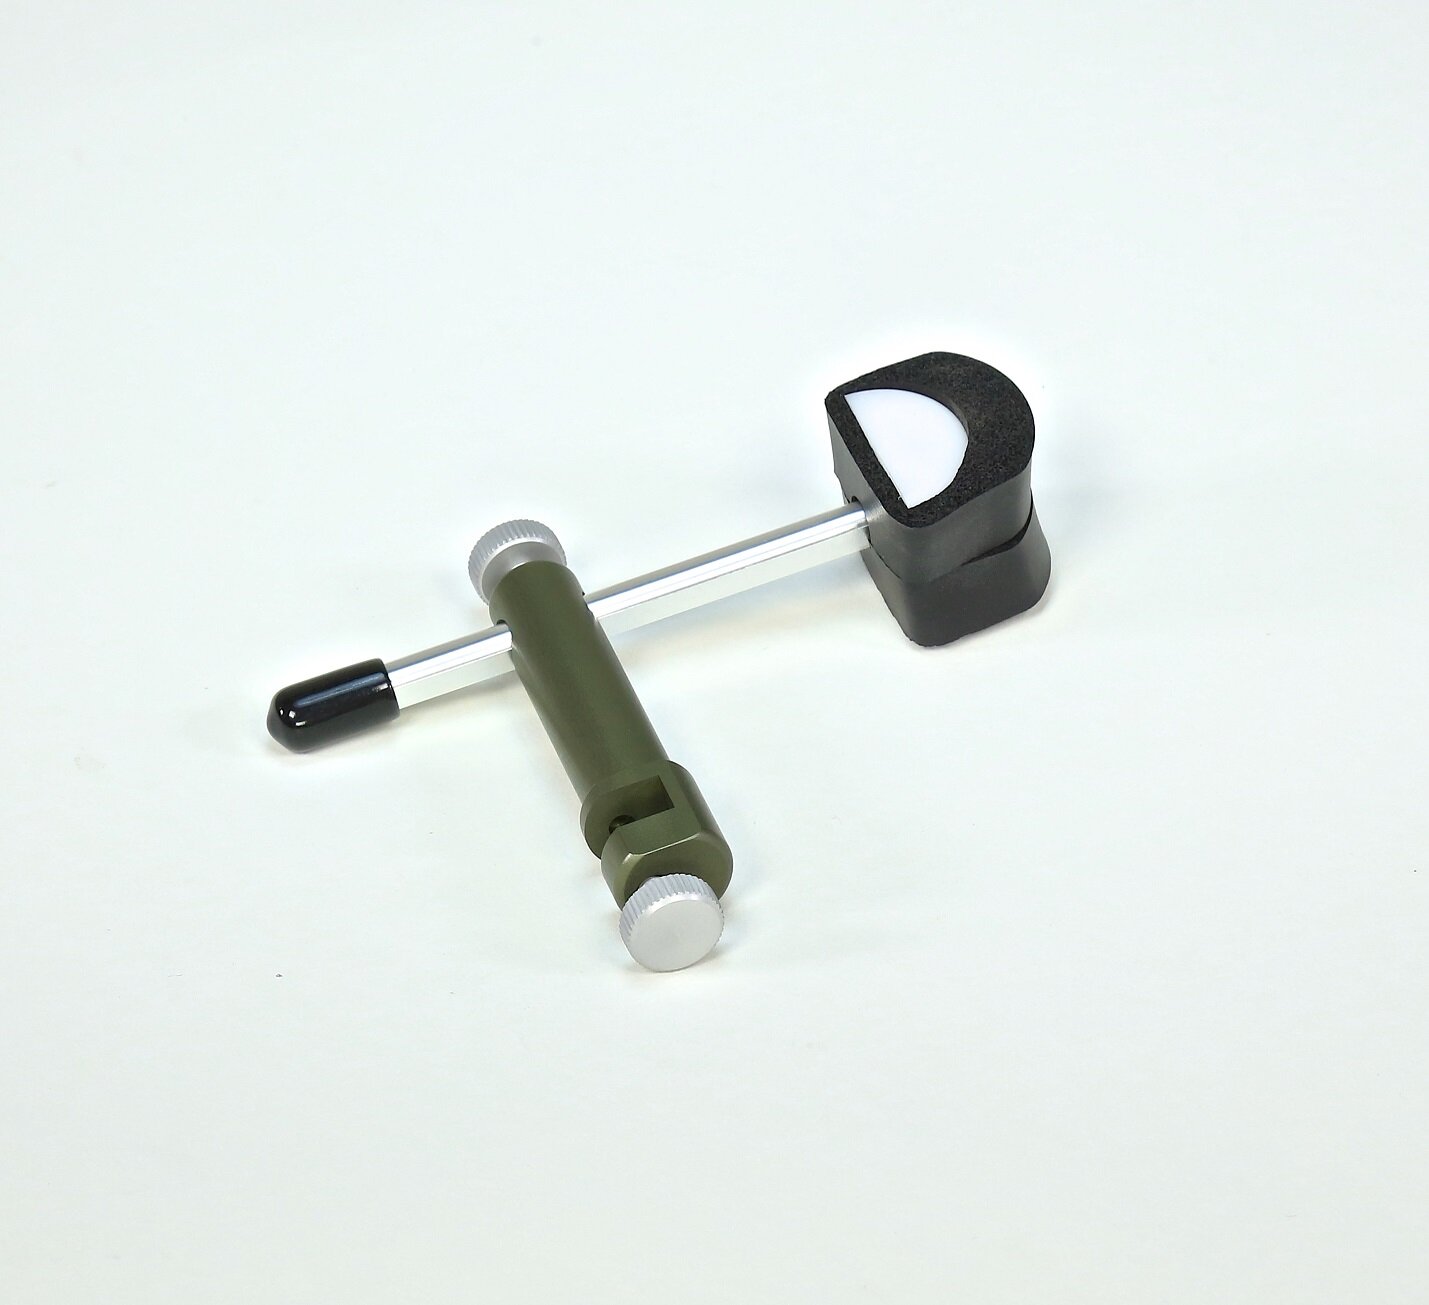
You will notice that one end of the bite fork stem vertical post has a small green dot on it. This green dot indicates that this is the end of the bite fork post that fits into the facebow crossbar. As well, you’ll note that there is a flat surface machined into this tip of the bite fork vertical post. This flat surface should face the set screw when installing it into the facebow crossbar.
Once you’ve taken the facebow record and want to transfer it to the articulator, you’ll still want the green dot on the vertical post facing up. The opposite end of the vertical post will fit into the mounting table, with the machined flat surface of the tip facing the set screw when tightening it up.
My bite fork assembly will not tighten up and is loose no matter what I try. What am I doing wrong?
In almost all cases, the bite fork clamp assembly (the two rectangular blocks) has come apart and not been re-assembled properly. You should use your allen wrench, remove the allen screw that holds the two clamps together and re-assemble, ensuring that:
- Each clamp has a green dot on it. When assembled correctly, these two green dots should face each other.
- There is a star washer that sits in between the upper and lower clamps. If the washer is missing, the clamp will not function correctly.
Please also click here to see instructions on how to re-assemble this clamp properly. Finally, do not tighten the bite fork clamps without having a bite fork inserted in them. Otherwise, the clamps will become bent and unusable.
User Guides
Videos
Using the 3rd Generation AD2 Articulator, Facebow and MCD
Using the AD2 Anatomic Facebow